
AI
SSH into Your Mac from an iPhone with Tailscale and tmux
Turn a Mac at home into a private personal server you can access from an iPhone with Tailscale, SSH, and tmux—without router port forwarding.
A
Written byasta-nguyen
06 Sep 20260 min read0 views

Photo by Annie Spratt on Unsplash.
#SSH into Your Mac from an iPhone with Tailscale and tmux
Your Mac at home can be a surprisingly useful personal server. With Tailscale, SSH, and tmux, you can open a terminal from an iPhone, start a build or coding agent, close the mobile app, and reconnect later without losing the process.
No router port forwarding. No public VPS. No SSH service exposed directly to the internet.
This guide uses the simplest reliable setup:
- Tailscale creates a private, encrypted network between your devices.
- SSH gives you a normal remote shell.
- tmux keeps terminal sessions alive across disconnects.
#What you need
- A Mac running macOS 13 or later
- An iPhone or iPad
- One Tailscale account
- Homebrew on the Mac
- An SSH client on iOS, such as Termius or Blink Shell
The Mac must be powered on and connected to the internet. tmux survives an SSH disconnect, but it cannot keep a sleeping Mac reachable. For long-running jobs, we will use macOS's built-in caffeinate command.
#1. Install and connect Tailscale on the Mac
For most people, install the official macOS app from tailscale.com/download, open it, and sign in.
If you prefer Homebrew:
CodeLoading…
Open Tailscale and log in with the same account you will use on the iPhone. Then verify that the Mac is connected:
CodeLoading…
The second command should return a private Tailscale address in the 100.x.y.z range.
You can also use the Mac's MagicDNS hostname instead of its IP address. In the Tailscale admin console, give the Mac a short, recognizable device name such as home-mac.
#2. Enable the built-in SSH server
Open:
System Settings → General → Sharing → Remote Login
Turn it on and restrict access to Only these users. Select the macOS account that will run your development jobs.
From Terminal, confirm the current user and SSH setting:
CodeLoading…
The value from whoami is your SSH username. It is your local macOS account name, not your Apple ID email address.
If you prefer the command line, enable Remote Login with:
CodeLoading…
Before involving the iPhone, test SSH from another computer that is already on your tailnet:
CodeLoading…
Replace both placeholders. If this works, the Mac-side configuration is ready.
#3. Install tmux
Install tmux with Homebrew:
CodeLoading…
Create or reattach to one named session:
CodeLoading…
Inside tmux, start a job:
CodeLoading…
To leave the session running while disconnecting SSH, press:
Ctrl-b, then d
That is tmux's default detach shortcut. The process keeps running on the Mac.
Reconnect later with:
CodeLoading…
You can list sessions if you forget the name:
CodeLoading…
#4. Keep the Mac awake for long jobs
A disconnected SSH client does not stop tmux, but macOS sleep can stop network access or pause your workload.
Run a command through caffeinate when the Mac must stay awake:
CodeLoading…
For a long-running coding agent:
CodeLoading…
If the command exits, caffeinate exits too. This avoids changing permanent power settings just for one job. Make sure the Mac is plugged in and has enough disk space and memory for the workload.
#5. Connect from the iPhone
Install Tailscale from the App Store and sign in with the same account as the Mac. Turn the VPN on and confirm the Mac appears as an online device.
Then install an SSH client.
#Termius
Create a new host with:
| Field | Value |
|---|---|
| Alias | Home Mac |
| Hostname | The Mac's Tailscale IP or MagicDNS name |
| Port | 22 |
| Username | The value from whoami |
| Authentication | SSH key, recommended |
For a first test, password authentication also works. Use the Mac's local login password—not necessarily the password for your Apple ID.
Once connected:
CodeLoading…
You now have a persistent remote development terminal in your pocket.
#6. Use an SSH key instead of a password
Password login is convenient for the first test, but an Ed25519 key is a better daily setup.
Create an Ed25519 key in Termius or Blink and copy its public key. On the Mac, add it to authorized_keys:
CodeLoading…
Paste the public key as one complete line, save, and reconnect using that key.
Do not disable password authentication until key login has been tested successfully. Keep a second recovery path available in case the key is pasted incorrectly.
#Optional: Tailscale SSH
Tailscale SSH can manage SSH authentication and authorization through your tailnet policy. It is useful when you want identity-based access instead of distributing SSH keys.
On macOS, the Tailscale SSH server requires the open-source tailscaled variant; the sandboxed App Store build cannot act as a Tailscale SSH server. For a standard personal Mac setup, regular macOS SSH over the Tailscale network is usually simpler and already avoids exposing port 22 publicly.
Read the current requirements in the Tailscale SSH documentation before switching.
#Troubleshooting
#Tailscale shows "NeedsLogin"
Sign in on the Mac and iPhone with the same Tailscale account. On the Mac:
CodeLoading…
#SSH says "Connection refused"
Check that Remote Login is enabled:
CodeLoading…
It should report "Remote Login: On". Also confirm that you are using the Mac's Tailscale IP, not its local Wi-Fi address.
#The Mac is not reachable
From another tailnet device:
CodeLoading…
If the ping fails, check that both Tailscale apps are active and that the Mac is awake.
#tmux says there is no session
List existing sessions:
CodeLoading…
If none exist, create one:
CodeLoading…
#The job stopped after disconnecting
Make sure it was started inside tmux. For jobs that require the Mac to remain awake, run them through caffeinate:
CodeLoading…
#Quick checklist
- Tailscale is connected on both devices.
- The Mac has a 100.x.y.z Tailscale address.
- Remote Login is enabled for the correct macOS user.
- SSH works before adding tmux.
- tmux contains the long-running process.
- caffeinate is used when sleep would interrupt the job.
- SSH keys are configured and tested before removing password access.
The result is a small, private, and inexpensive personal server: your Mac stays at home, while your terminal travels with you.
Further reading: Tailscale SSH, Tailscale on macOS, and tmux.
Filed under
AI DevOpsLLMAgent
A
View all postsAbout the author
asta-nguyen
Sharing ideas and building in public.
Loading comments...
Keep reading
More from asta-nguyen
 DevOps
Seft host docker registry on VPS - Part 1
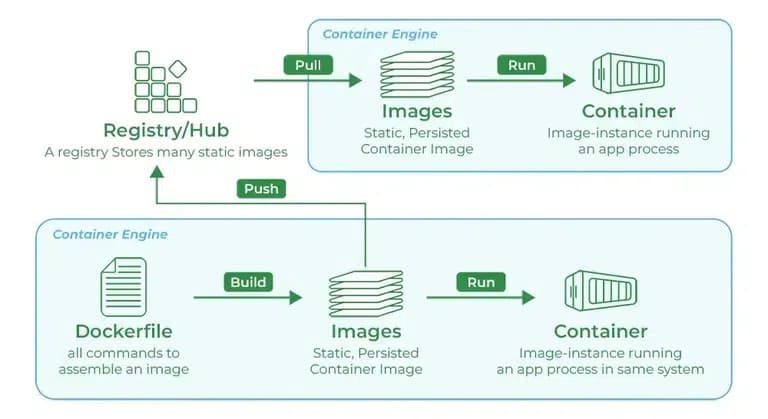
While you're working with registries, you might hear the terms registry and repository as if they're interchangeable. Even though they're related, they're not quite the same thing. A registry is a centralized location that stores and manages container images, whereas a repository is a collection of related container images within a registry. Think of it as a folder where you organize your images based on projects. Each repository contains one or more container images.
A6 min
 AI
AI OpenSpec: A Lightweight Spec-Driven Development Framework for AI-Assisted Coding
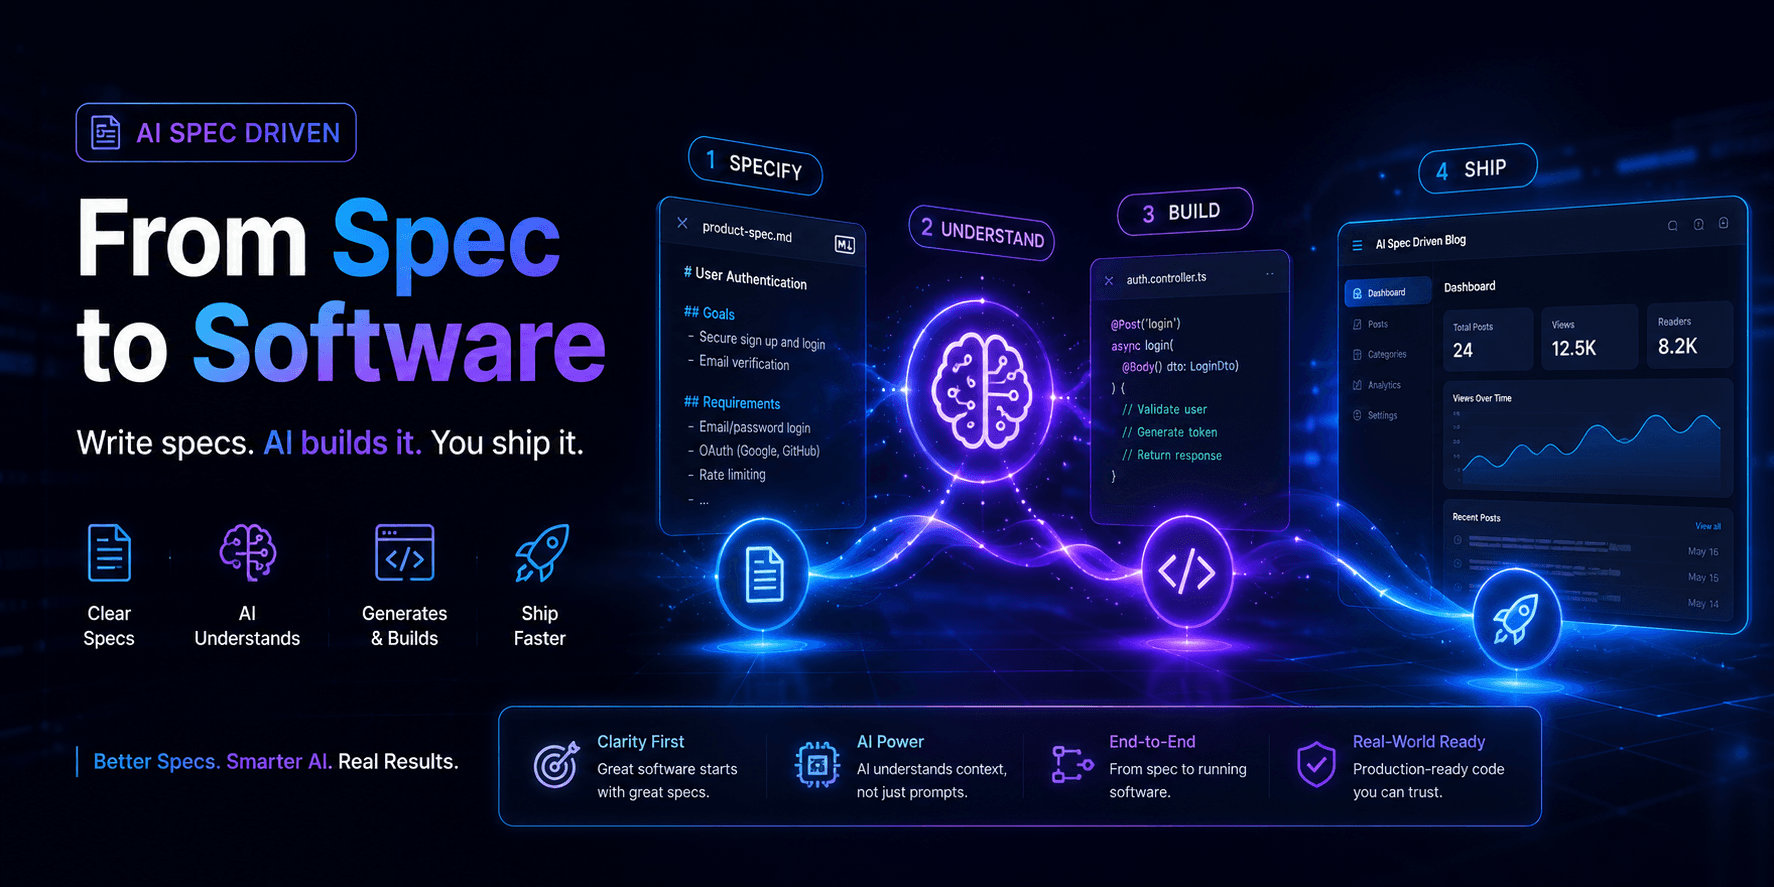
OpenSpec is an open-source, lightweight spec-driven development (SDD) framework that helps human developers and AI coding agents align on what to build before code is written. This article covers its philosophy, workflow, and how it fits into the modern AI-assisted development landscape.
A1 min
 AI
AI Kimi K3: The Hot AI Model to Watch Right Now
A practical look at Moonshot AI's Kimi K3, why it is trending, how its benchmarks compare, and where it may or may not be useful today.
A1 min